Whether you use your trailer for personal or your business, it can be quite expensive if you try to maintain it yourself. This must be done if you wish to care for and maintain the vehicle and ensure its longevity.
But various services such as Trechnomech Trailer Repair can do it for you. We provide the best trailer repair services that your trailers need from time to time.
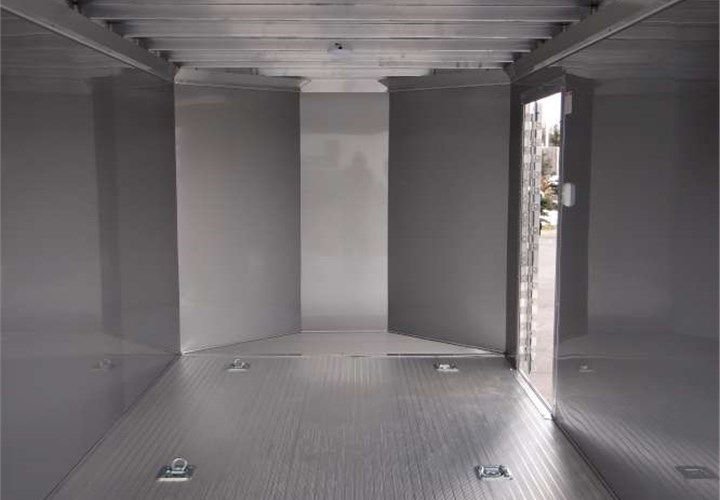
The most important part of the trailer is the trailer floor. As it is big and important, it is the key focus areas that need to be maintained every once in a while.
If you notice that your trailer floor is no longer operating as fine as it should or you witness any malfunctioning, then you must act on it as soon as possible.
If you fix your Trailer Floor Repair, it is usually a straightforward process. But to help you out, we have put together a step-by-step guide that will help you understand how to fix a trailer floor.
How to Fix a Trailer Floor
Let us have a look at the steps that you can follow to repair your trailer floor.
- Check the Area Needing Repair
Before you start tearing up the floor, take a good look at the damage. If you’re lucky, it might just be a small area, which will save you time and money.
Walk around the entire trailer to make sure you haven’t missed anything. Once you know the full extent of the damage, you can move on to the next step.
- Remove the Damaged Areas
How you remove the damaged flooring depends on what type you have. Carpet can be pulled up in strips, tiles need to be ripped up, and vinyl flooring needs to be cut out.
If you have wooden floors like phenolic plywood or keruing decking, these are easier to take out in sections.
- Fix Any Leaks
Floor damage often comes from leaks, whether it’s from the roof, windows, or the toilet. Find and fix the leak before putting down new flooring. It’s usually pretty easy to trace. Fix the leak or any insulation issues first.
- Dry Out the Exposed Framing
If the damage is from a leak, let the wood framing dry out after removing the old flooring. Don’t rush to lay down new flooring, or the dampness might cause the same problem again.
- Remove Any Mould
Moisture in wood often leads to mold. Make sure to remove all traces of it. You can use an antifreeze spray, but it needs a week or two to dry out. Borax is another good option, though it can be a bit pricey.
- Seal the Wood
Apply epoxy resin and a hardener to create a waterproof seal on the wood. This will prevent future problems and strengthen the wood, while also discouraging mould.
Always follow the instructions and take safety precautions when using chemicals.
- Replace the Damaged Sections
Now, you can put in the new sections of wood. If you didn’t remove an entire section and need to cut the timber to size, do so carefully.
You might also want to add some new cross supports underneath to make sure the floor is strong and safe for use if there is any damage.
How to replace trailer floors?
If you see that the floor section is damaged and needs to be changed, then we will also help you replace the trailer floors through a step-by-step process.
Check what needs replacing
You might not have to replace the whole floor, just a section of it. This depends on the type of trailer you have and what the floor is made of.
So, before you buy any materials or get help, inspect it closely to see what exactly needs to be done.
Buy your materials
Now that you know what needs to be fixed, take measurements and get the tools and materials you need.
Trailer floors can be made of steel, polyvinyl, wood, or a mix of these. Make sure you buy the right amount and type of materials for your trailer.
If you have a mechanical trailer, like one with a moving floor, you might need extra items. In this case, it’s often best to call in professionals.
Call the professionals
If you can’t do the work yourself, calling professionals is easier. Technomech Mobile Trailer Repair in Texas will ensure the floor is replaced correctly and still works well.
This is especially important if you have an expensive trailer with many technical parts. You don’t want to cause more damage, so a professional service is usually the best choice.
Remove the existing floor
If you’re doing the job yourself (or with a friend), start by removing the old or damaged floor.
Do this carefully and dispose of old materials safely and in an eco-friendly way.
Check for bigger issues
Take this chance to check for any bigger problems underneath.
If there’s major structural damage, you might need welding. Make sure it’s done to a high standard before putting it on the new floor.
Also, if the floor got damaged due to a leak from the roof or side panels, fix the leak and let the trailer dry completely before installing the new floor.
Seal the wood
If you’re putting in a wooden deck, make sure the wood is sealed before you install it.
Don’t wait until after installation to seal it, as it’s messier and less effective.
Get a resin or waterproof stain to create a water-resistant barrier. This is crucial in wet conditions or if you often transport liquids.
Lay the new floor
The final step is installing the new floor. Do it piece by piece, making sure each section is properly sealed, attached, and fit for use.
Don’t rush this part or use the wrong tools, as this can cause more damage and problems later.
If one area was more damaged than the rest, consider adding extra support to that section to make it stronger.
In the End
Trailer floors need extreme care and maintenance so that they can work for long. You must get your trailer repaired as soon as possible to make sure of its functionality and safety.
However, you can often fix the trailer floor if the issue is common or small, it is still recommended to make sure that the job is done correctly and safely.
For the best Trailer Repair in Houston, you can get in touch with Technomech Trailer Repair. Call us to get an appointment today!